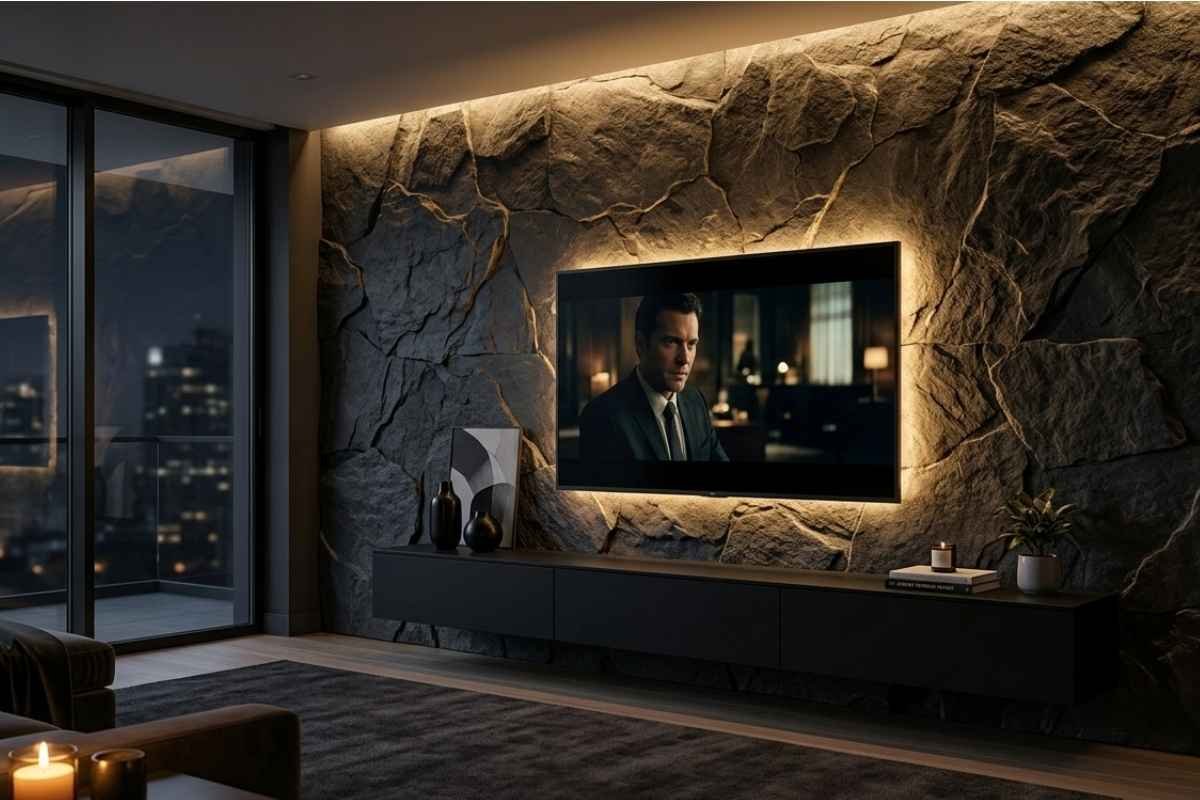
Transform your living room into a high-end luxury sanctuary with a custom backlit rock accent wall. This design combines natural rugged texture with modern warm LED ambient lighting to create a dramatic focal point in any home.
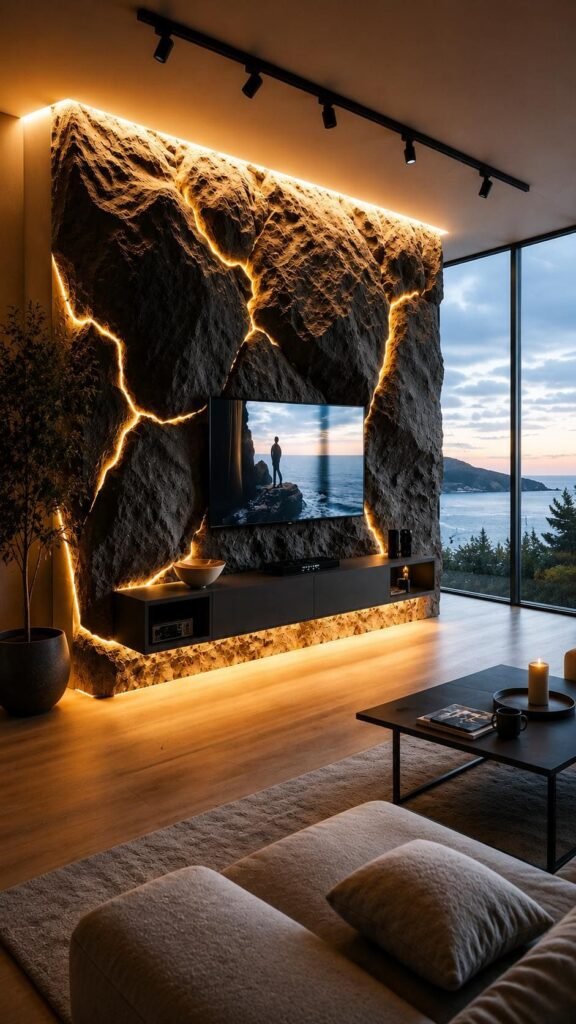
Material Options
- Option 1: Real Slate/Quartz Stone Veneer (Best Choice) – High-end natural stone slabs or thin 3D slate stone veneers. Lightweight, fire-resistant, and visually authentic.
- Option 2: 3D PU (Polyurethane) Faux Rock Panels – Cost-effective, lightweight, easy to install, and pre-molded with deep cracked stone textures.
- Option 3: Custom Fiber/Plaster Sculpted Wall – Made on-site using plaster and molds to get exact custom cracks and contours.
Lighting Layout & Specs
- Light Type: Warm White LED COB Light Strips (2700K – 3000K) for a soft, golden glow without visible dot impressions.
- Placement: Install LED channels along the top perimeter and deep natural crevices/cracks of the stone.
- Diffuser Channels: Always use aluminium profile channels with frosted diffusers to prevent harsh glare.
- Control: Smart dimmer switches or Wi-Fi controlled drivers to adjust brightness for night and movie modes.
Floating Media Console & TV Mounting Specifications
- TV Mounting: Heavy-duty articulating or ultra-slim flush wall mount anchored directly into the structural backing (not just decorative stone).
- Floating Console: Matte black MDF or plywood unit (12-15 inches deep, 10-12 inches high) mounted 12-18 inches above the floor.
- Cable Management: In-wall PVC conduit pipes hidden behind the stone wall to conceal power cords and HDMI cables completely.
Step-by-Step Installation Guidelines
- Plywood Backing: Secure a sturdy 18mm plywood substrate to the main wall frame.
- Wiring Setup: Route power outlets, TV cables, and low-voltage LED driver connections before installing panels.
- Stone Panel Assembly: Interlock and glue/screw the stone panels onto the plywood using strong construction adhesive.
- Lighting Integration: Lay the LED strips inside the carved channels/crevices.
- Mounting & Finishing: Mount the TV, fix the floating cabinet below, and add ceiling track lights (3000K focus lights) to highlight top textures.